MAR 12
When you're looking for a hidden camera that can go anywhere and is packed with features, our brand new
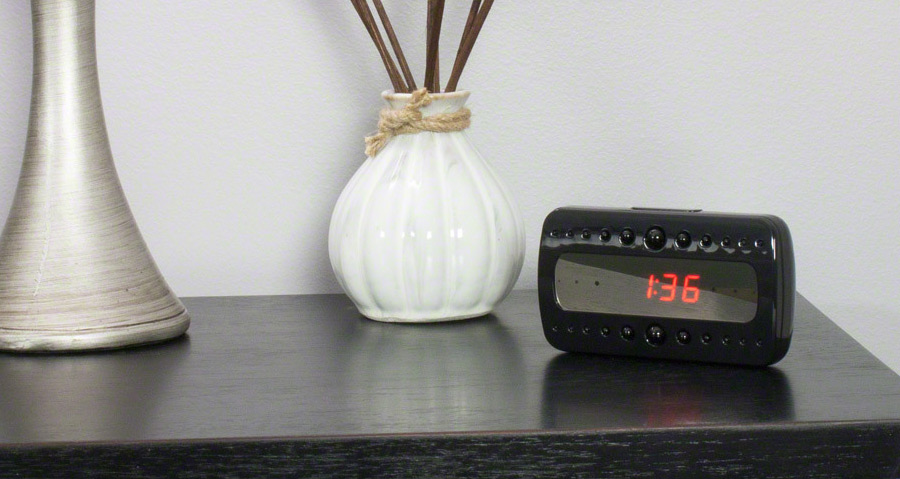
1080P HD Motion Activated Mini Clock Hidden Camera with Night Vision is the perfect camera for the job.
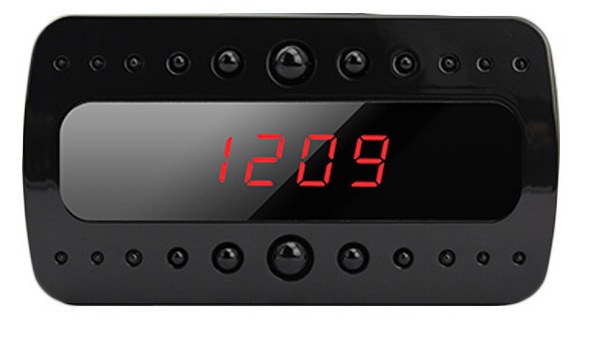
This miniature hidden camera looks and functions like a regular alarm clock, but inside is a high quality camera lens that records stunning 1080P HD video. In addition to clear video, it also includes 10 IR night vision sensors, that give the camera the ability to record in total darkness!
Features and Benefits
- Records 1080P HD clear color video
- Choose either motion-activation or continuous recording mode
- Night vision sensors allow recording in total darkness
- Video recorded to micro SD card up to 32GB
- Videos are both PC and Mac compatible
- Dual power supply allows battery or AC power
With all of these features packed into a this small, portable hidden camera device, it makes this camera perfect for providing covert surveillance wherever you need it. The flexibility of being either battery powered (for up to 7-8 hours of continuous operation) or AC powered (for long term use) makes this the ideal camera to:
- Monitor your home while you're at work
- Keep an eye on your babysitter or nanny
- Ensure elderly loved ones are being properly cared for
- Protect your office or business from theft/vandalism
- Monitor your possessions in your hotel room
Getting Started
Setting up this little hidden camera is simple.
- The first thing you want to do is to remove the protective plastic tab that protects the battery and the clock during transit. To do this, simply remove the back cover, and pull out the little plastic tab.
- Next, you'll want to charge the camera's internal battery. You can charge the camera by connecting it to your computer's USB port using the included cable, but the faster way to charge it by using the included wall charger and plugging it into AC power.During charging, the LED indicator light on the back of the camera will be red. Once charging is complete, the red light will go out, and you'll know the camera is fully charged.
- After the camera is fully charged, remove the back cover and insert a micro SD card (up to 32GB in capacity) into the memory card slot. For best performance, we recommend a Class 10 memory card. The higher the class rating, the faster the card, which is important for HD cameras like this one. If you purchase a memory card from us, rest assured that all of the cards we carry are Class 10 rated.
- Next, slide the power switch on the back of the camera into the "ON" position, and then put the back cover of the camera back onto the camera.
- The camera is now ready to go! Point the remote control at the front of the camera and press the red Power button. This will turn the camera on and put it into standby mode. While the camera is in standby mode, you'll see a red LED on the front of the camera:
- Choose which recording mode you'd like to use, and press either the Motion Detection Recording or Continuous Recording mode button, depending on which mode you want to use. Once you press the recording mode button, the LED on the front of the camera will flash and then go out, and the camera is now recording (or waiting to detect motion if you selected motion detection mode).
- To stop recording, press the same mode button you pressed before, and the camera will go back into standby mode, with the blue LED button shining. To turn the camera off, press the Power button again.
Viewing Recorded Videos
Watching your recorded video files is easy. You can either directly connect the camera to your computer using the included USB cable, or you can remove the memory card and insert it into an
SD card reader.
Once the camera or memory card is connected to your computer, browse to the main directory and click on the DCIM folder. Inside this folder will be all of your video files. Simply click on a file to play. It's that easy!


 How do Hidden Cameras Work?